Got a new Instant Pot? Welcome to the most popular kitchen gadget!
For the new Instant Potheads, I am sure you are overwhelmed with all the new acronyms you have seen in the Instant Pot groups on Facebook or when you search for a recipe. Instant Pot has certainly added a new lingo. So, let’s get started to learn some of the commonly used terms.
Check out this buying guide if you have not purchased your instant pot yet. If you have not already set up your Instant Pot and done the water test, check out the Instant Pot Beginners Quick Setup Guide.
Table of Contents
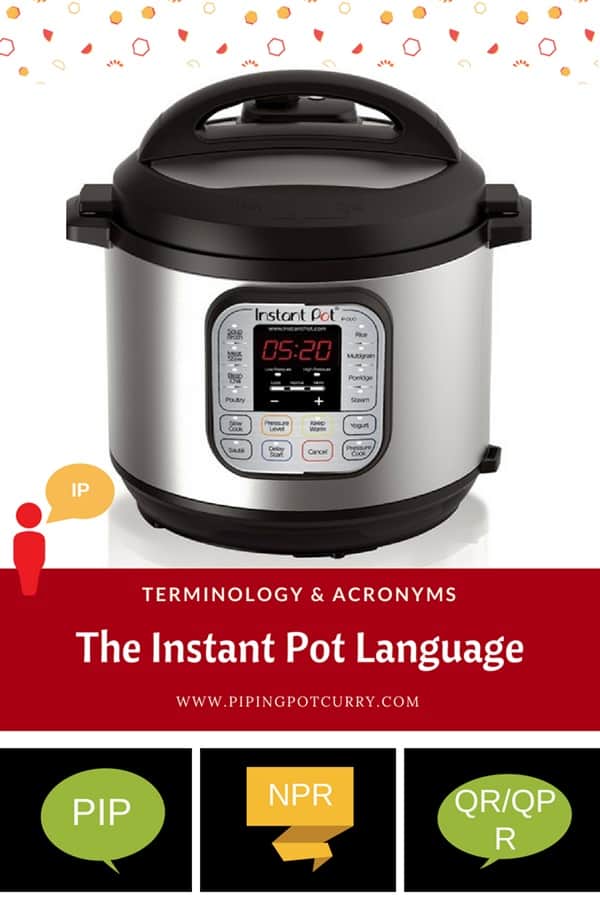
Instant Pot Acronyms
1. IP / Instapot = Instant Pot
2. Pothead = Instant Pot user
3. PC = Pressure Cooker, EPC = Electric Pressure Cooker
4. HP = High Pressure
5. LP = Low Pressure
6. NPR or NR = Natural Pressure Release or Natural Release
When pressure cooking is done, let the instant pot release the pressure by itself until the pin drops. Do not change the pressure valve position.
7. QPR or QR = Quick Pressure Release or Quick Release
When the pressure cooking is done, release the pressure by moving the pressure valve to the venting position. Wait for the pin to drop before opening the instant pot.
Quick release is not recommended for foods with large quantities of liquid, as food can splatter out with steam.
8. X minute NPR = Do natural pressure release for X minutes, then do a quick release.
You will see this used often as “5 minute NPR” or “10 minute NPR”. A 10 minute NPR means you release the pressure manually 10 minutes after the instant pot beeps.
9. PIP = Pot-in-pot
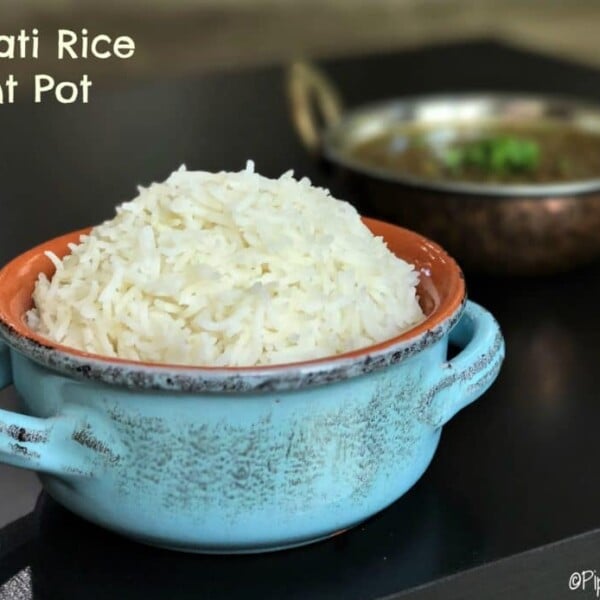
This method is used by many to cook multiple dishes at once or if you are cooking a small amount of food. For example, cooking meat or curry in the main pot while cooking rice in an oven-safe or steel pot kept on a trivet. Many people have made 3 things at a time in the instant pot using stackable containers. See the post to cook rice with the PIP method.
10. 5-5-5 method
This is mainly used for cooking eggs. It means high-pressure cooking for 5 minutes, then 5 minutes of natural pressure release, and then 5 minutes of ice bath.
People use different methods to cook the eggs based on their texture preference, 4-4-4 or 3-5-5.
HBE = Hard Boiled Egg
9. Manual = Pressure Cook
The older models of instant pot had the button to pressure cook named “Manual”. However, in the newer models, they have fixed this and now call it “Pressure Cook”, which is what it always did.
10. Keep Warm mode
After pressure cooking or slow cooking, the instant pot will keep your food at a “Keep Warm” temperature. This is shown on the display as L0:01, which means that the pressure cooking was completed, and it has been 1 minute on Keep Warm mode. The counter will count up.
You can choose for the instant pot not to go into Keep Warm mode after cooking by pressing the pressure cook/manual twice (the light on Keep warm/cancel will turn off). You can also always press cancel after cooking to come out of Keep Warm mode.
11. PR Se with beeping
This message is displayed on an Instant Pot Ultra when pressure is detected in a non-pressure cook setting or the temperature is higher than the boiling point. e.g. when you are sautéing and then put the lid on. The temperature is already high due to sauté mode, and the pressure builds as soon as you put the lid on.
This is a warning that you should keep the lid off, and if the lid is on, the pressure valve in venting when in a non-pressure cooking program.
12. Custom Saute LE (LE1 to LE6)
This setting is in the Instant Pot DUO Evo Plus model. LE is the custom setting for saute temperature.
When Custom is selected, the default temperature level LE 1 will flash. It goes from LE1 to LE6 (1 being the lowest). You can turn the dial to move between the sauté heat levels. The level scale is similar to an electric stovetop and can be used to reduce, simmer, sauté, stir-fry, sear & brown.
Instant Pot Terminology
1. Instant Pot Exterior / Exterior Pot / Cooker base /Housing
The exterior pot is the outer brushed stainless steel exterior. You place the inner pot in this exterior.
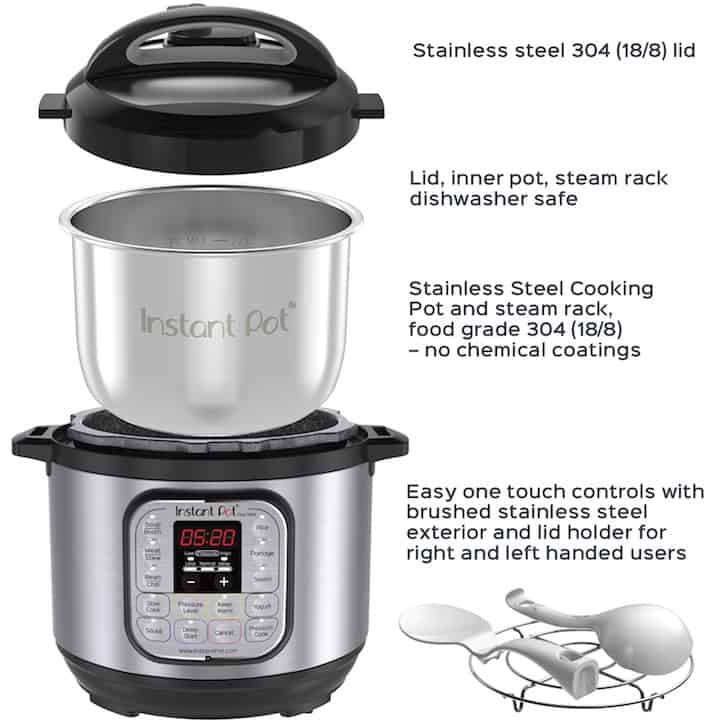
2. Inner pot / Steel Insert / Stainless steel Liner
The liner is the removable 3-ply bottom stainless steel cooking pot. Most of the time, you will be cooking in this steel insert. It is dishwasher safe. You can purchase an extra one for more flexibility: Steel and Ceramic non-stick inserts.
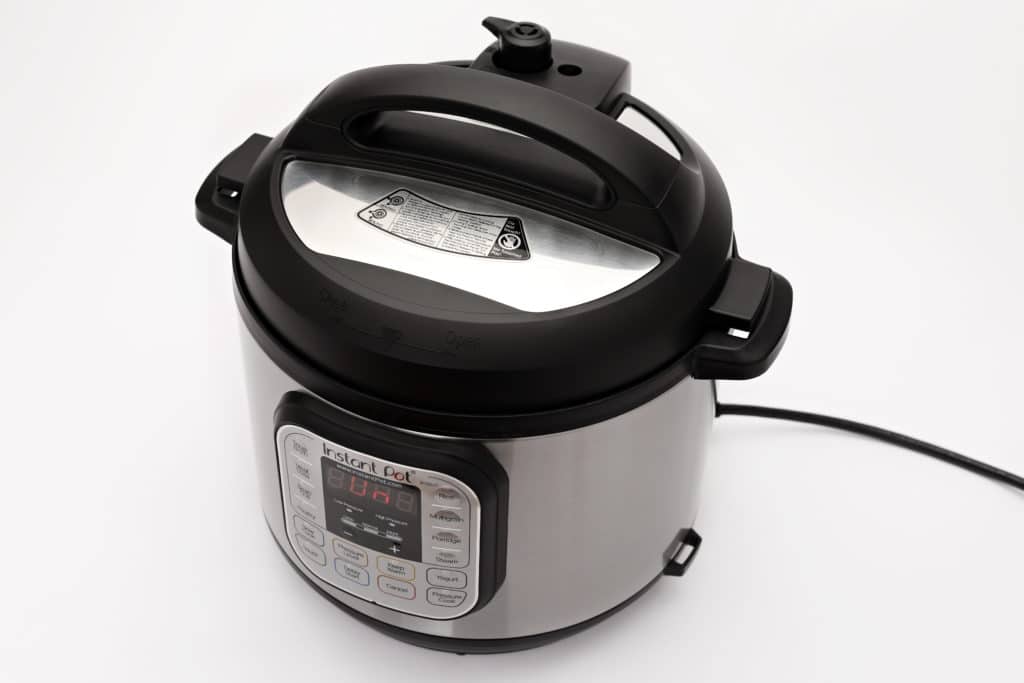
3. Instant Pot Lid
The Instant Pot Lid has multiple parts: Silicone Sealing Ring, Venting Knob, Floating Valve, and Anti-Block Shield.
Tip: Look for the triangle markings to close the lid. The triangle mark on the lid and the housing should align for the lid to close.
When pressure cooking food, all the parts must be attached and the lid secured. You can purchase a glass lid for the instant pot, which can be useful for slow cooking, yogurt function or when using Keep Warm mode. You can also purchase a silicone lid for the instant pot, which can be useful for storing food in the insert itself.
4. Seal / Ring / Silicone Ring / Gasket
The Silicone Sealing Ring is an important part of enabling pressure cooking. The sealing ring must be placed correctly; otherwise, the instant pot will not seal, and the pressure won’t build. The silicone ring is dishwasher-safe. However, I recommend hand washing it to preserve its longer life 🙂
Instant Pot recommends not pulling the sealing ring by force, as it can cause deformation and affect its function in sealing the pressure.
It is a great idea to have a spare sealing ring at hand. It is also suggested to have one for cooking sweets, while another for cooking savory dishes, so that the odors don’t cross-contaminate. Instant Pot sells a set of two, red and blue, so you can easily distinguish the savory and sweet foods sealing ring.
5. Handle / Vent / Knob / Steam Release Knob / Pressure Release Knob
Vent is the handle on the instant pot lid that you turn to either the sealing or venting position. This can be removed for washing; however, it does not need washing after every use.
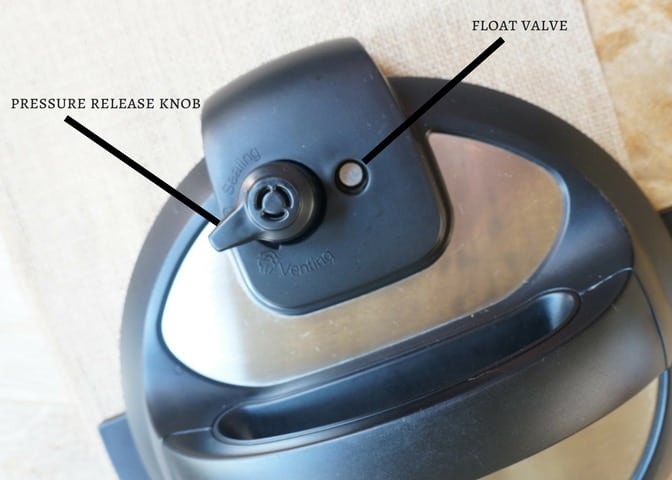
6. Pin / Float Valve / Valve
This is the pin that pops up when the instant pot builds pressure. After cooking, only open the instant pot lid after the pin has dropped. The pin being up signals that there is still pressure inside the pot.
7. Shield / Anti-Block Shield
There are two designs for the anti-block shield in different instant pot models. It is one of the safety mechanisms that help prevent food from entering the venting knob. It can be removed by pushing it to the side and lifting it up. I remove it only for cleaning.
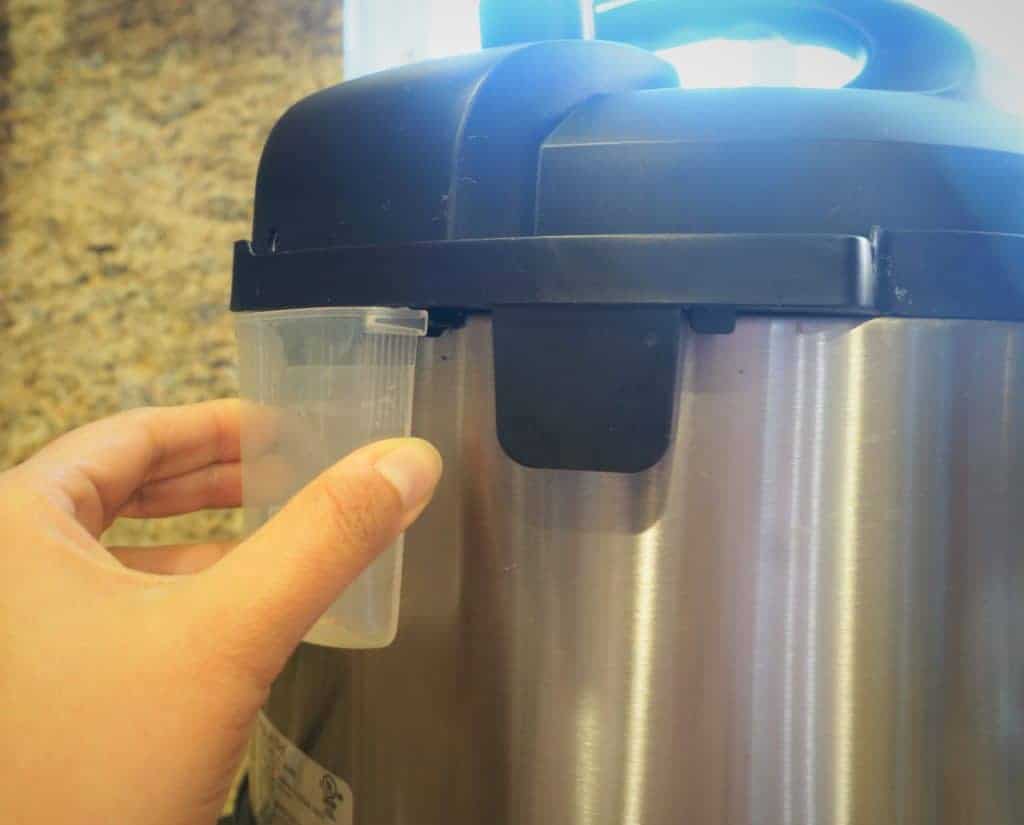
7. Condensation Collector
This is a small, flat plastic cup that comes with the instant pot. It collects any drippings from the food being cooked. I have seen liquid collect in it when the pressure did not build properly. The slot to put it is at the back of the instant pot.
8. Sealing Position / Venting Position
Depending on what you are cooking, make sure the venting knob is in the right position.
- Sealing Position: Traps the steam in the pressure cooker and builds up the pressure. This is the position you want to use for pressure cooking.
- Venting Position: Turn to the venting position to release the stem after pressure cooking.
9. Trivet / Rack / Steamer Rack
This is the metal rack that you put inside the instant pot to keep food out of liquid, such as for steaming and pot-in-pot cooking.
Sometimes, you might need a steamer basket to place on the trivet. Here is a popular one among instant pot users.
10. Water Test / Initial Test Run
This is a recommended step to get you a feel for how the instant pot works and make sure your pot is functioning as expected. It only takes 15 minutes, so I recommend to do it. Here is my post about how to do the water test.
If you have already started cooking and your food is cooking as expected, then don’t worry about it.
14. Deglaze the Pot
This method is to get the browned food bits off the bottom of the pot after browning meat/onions/garlic/etc. You add broth or water, scrape, and stir the bottom of the pot until all the food bits are mixed into the liquid.
12. Burn Message
“Burn” shows up when something has burned and scorched the bottom of the pot due to an insufficient amount of liquid required to come to pressure. You can open the pot, scrape the bottom of the bowl, and clean it off. Pull out the bad parts of the food that burnt, and start over with more liquid.
13. OvHT Message
ovHT indicates that the instant pot is overheating. From instant pot: “This mechanism is called burn-protection. When a high temperature (140C or 284F) is detected at the bottom of the inner pot, the burn-protection mechanism suspends heating to avoid burning food. On Instant Pot IP-DUO series, a warning message “ovHt” is flashed on the display.“
When you see this warning, you can open the pot and give it a stir to make sure no food is stuck to the bottom of the pot.
14. C7 Error
This error is displayed for one of 3 reasons –
- There is not enough liquid in the pot. Open the pot and check there is nothing stuck to the bottom. Add more liquid and deglaze the pot.
- The quick-release button is in the vent position – Flick the button to ensure it is in the seal position.
- The heating element has failed – which means you will need to contact Instant Pot customer support.
We certainly hope this list gets you started off with the instant pot!
Did we miss any Instant Pot Terminology or Acronyms? Leave us a comment below.
Check out other Instant Pot Resources
- Instant Pot Beginners Quick Setup Guide
- Which Instant Pot Buttons to Use?
- How to Clean your Instant Pot
- Most Useful Instant Pot Accessories
- Popular Instant Pot Cookbooks
- The Complete Instant Pot 101 Guide
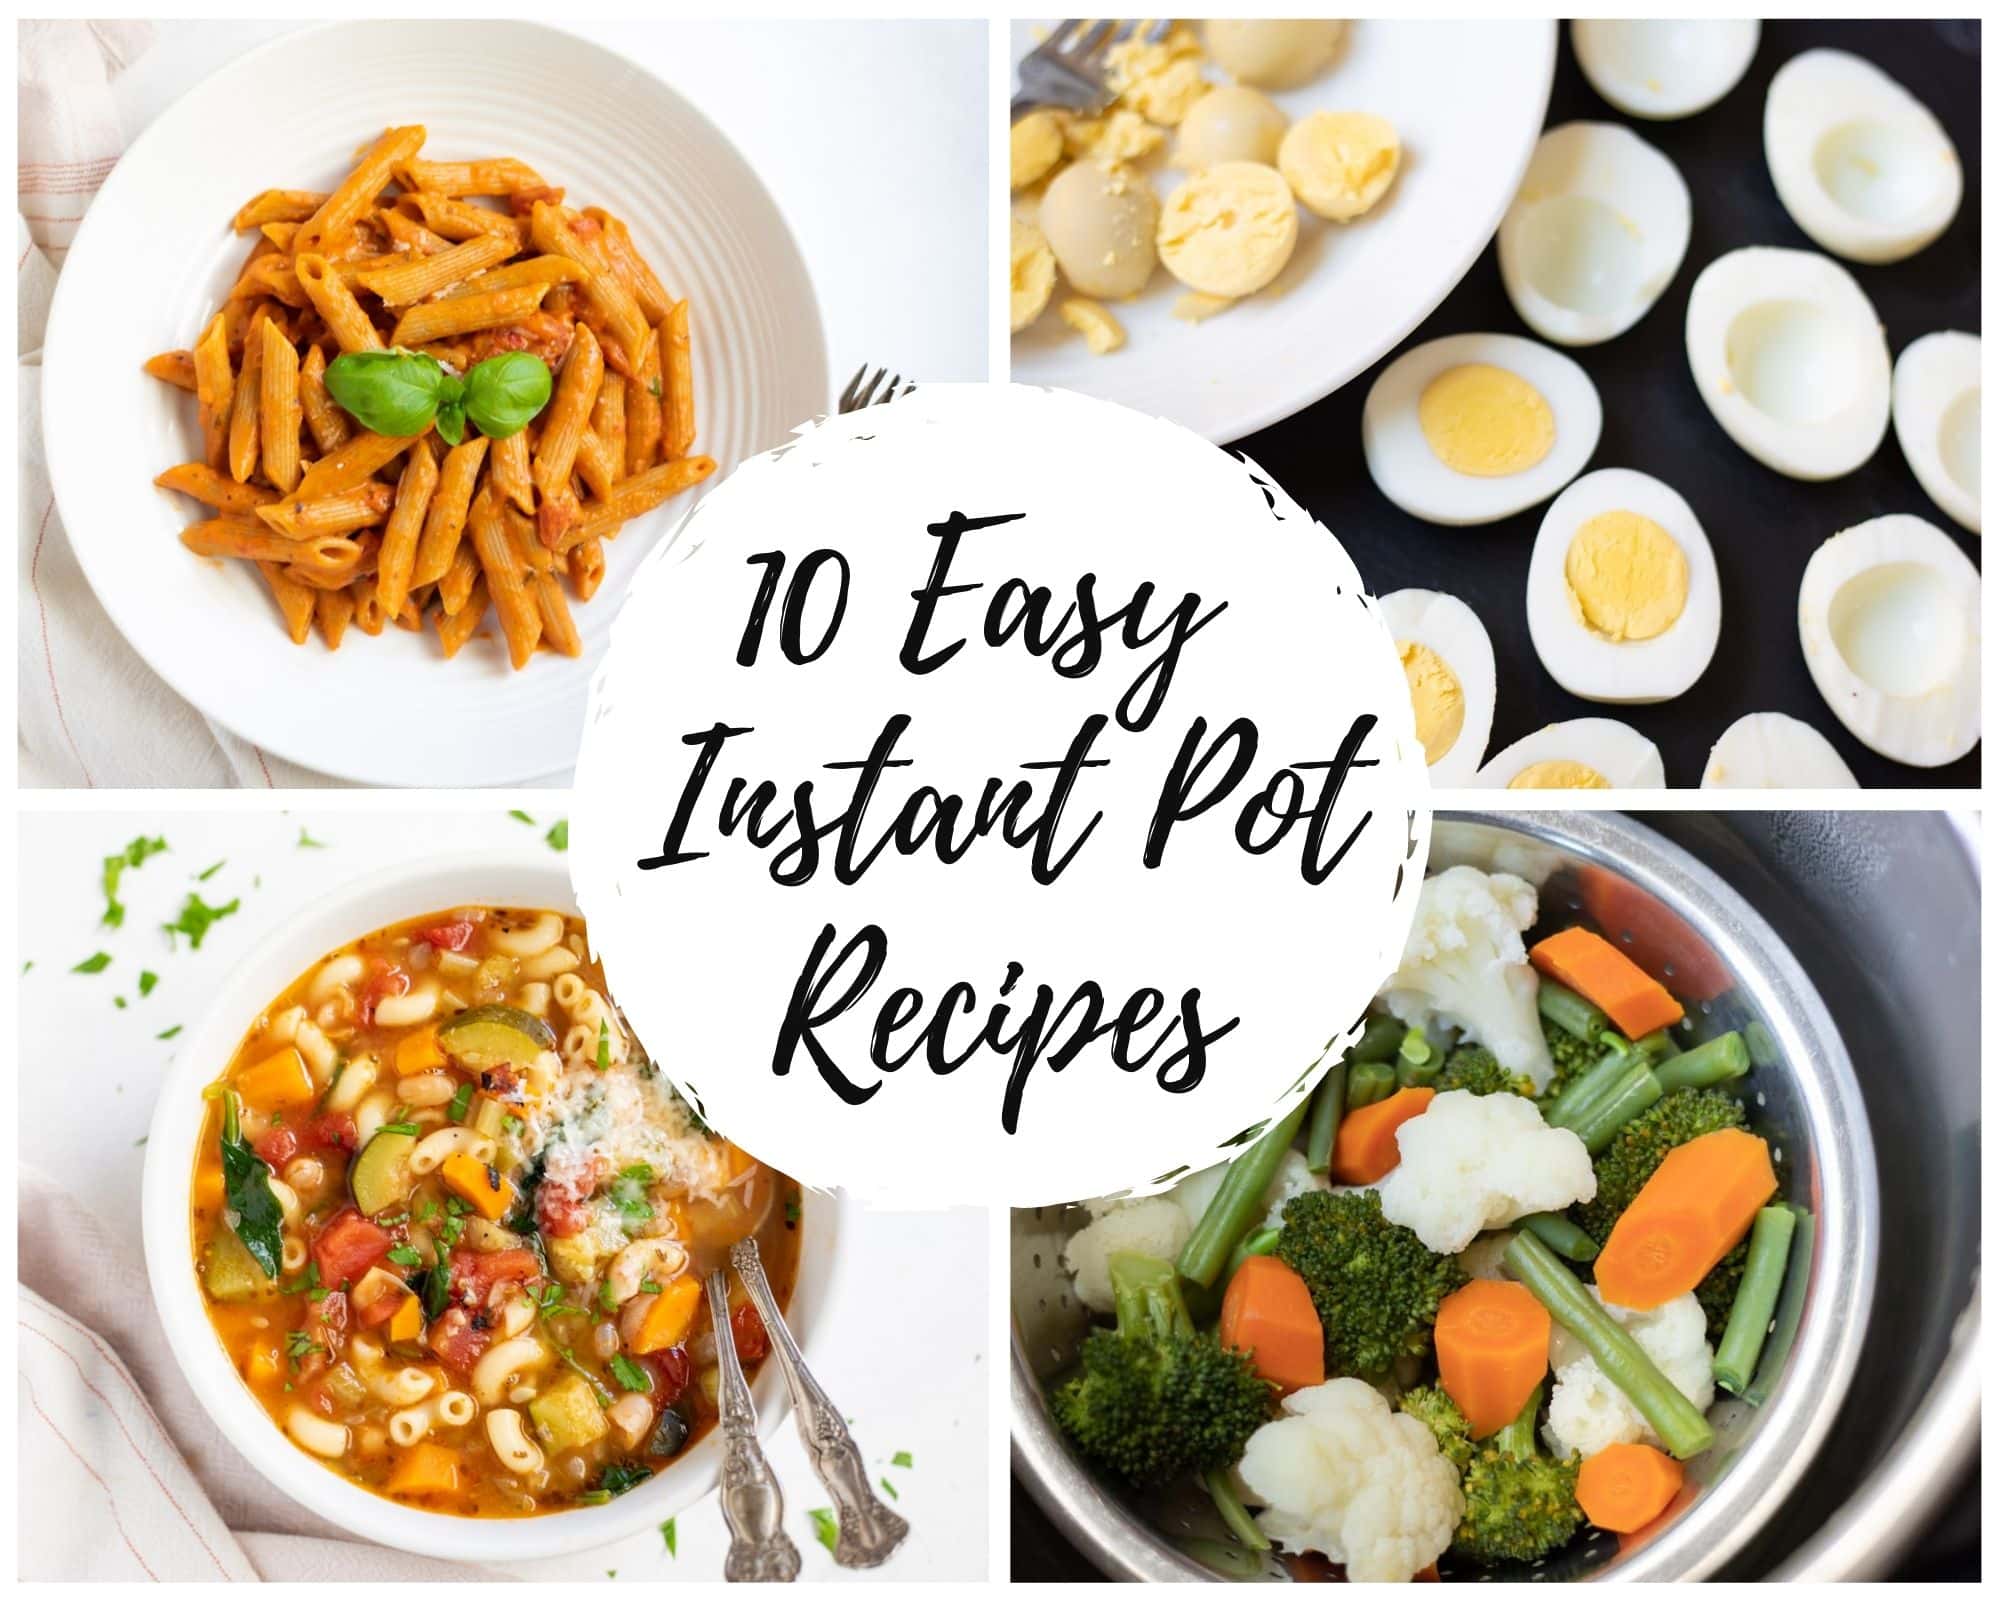
Check out 10 Easy Beginner Instant Pot Recipes


on the display is written C7 and the sound is like an alarm, What is wrong?
Hi Lazau – This error is displayed for one of 3 reasons –
1. There is not enough liquid in the pot. Open the pot and check there is nothing stuck to the bottom. Add more liquid and deglaze the pot.
2. The quick-release button is in the vent position – Flick the button to ensure it is in the seal position.
3. The heating element has failed – which means you will need to contact Instant Pot customer support.
what does EG or E6 mean on the pot
Hi Jake – Do you have an instant pot brand pressure cooker or is it Crockpot brand cooker? I could not find these error codes on the instant pot.